Blogs

How to Choose the Right HVAC System for Your Home
May 4, 2026
Planning HVAC installation in Vista, CA? Learn how to choose the right system for comfort, efficiency, and long-term savings.
Read more...
How to Tell if Your AC Needs Repair Before It Breaks Down
April 13, 2026
Notice warning signs early and stay cool. Get trusted air conditioning repair in Vista, CA before your AC fails.
Read more...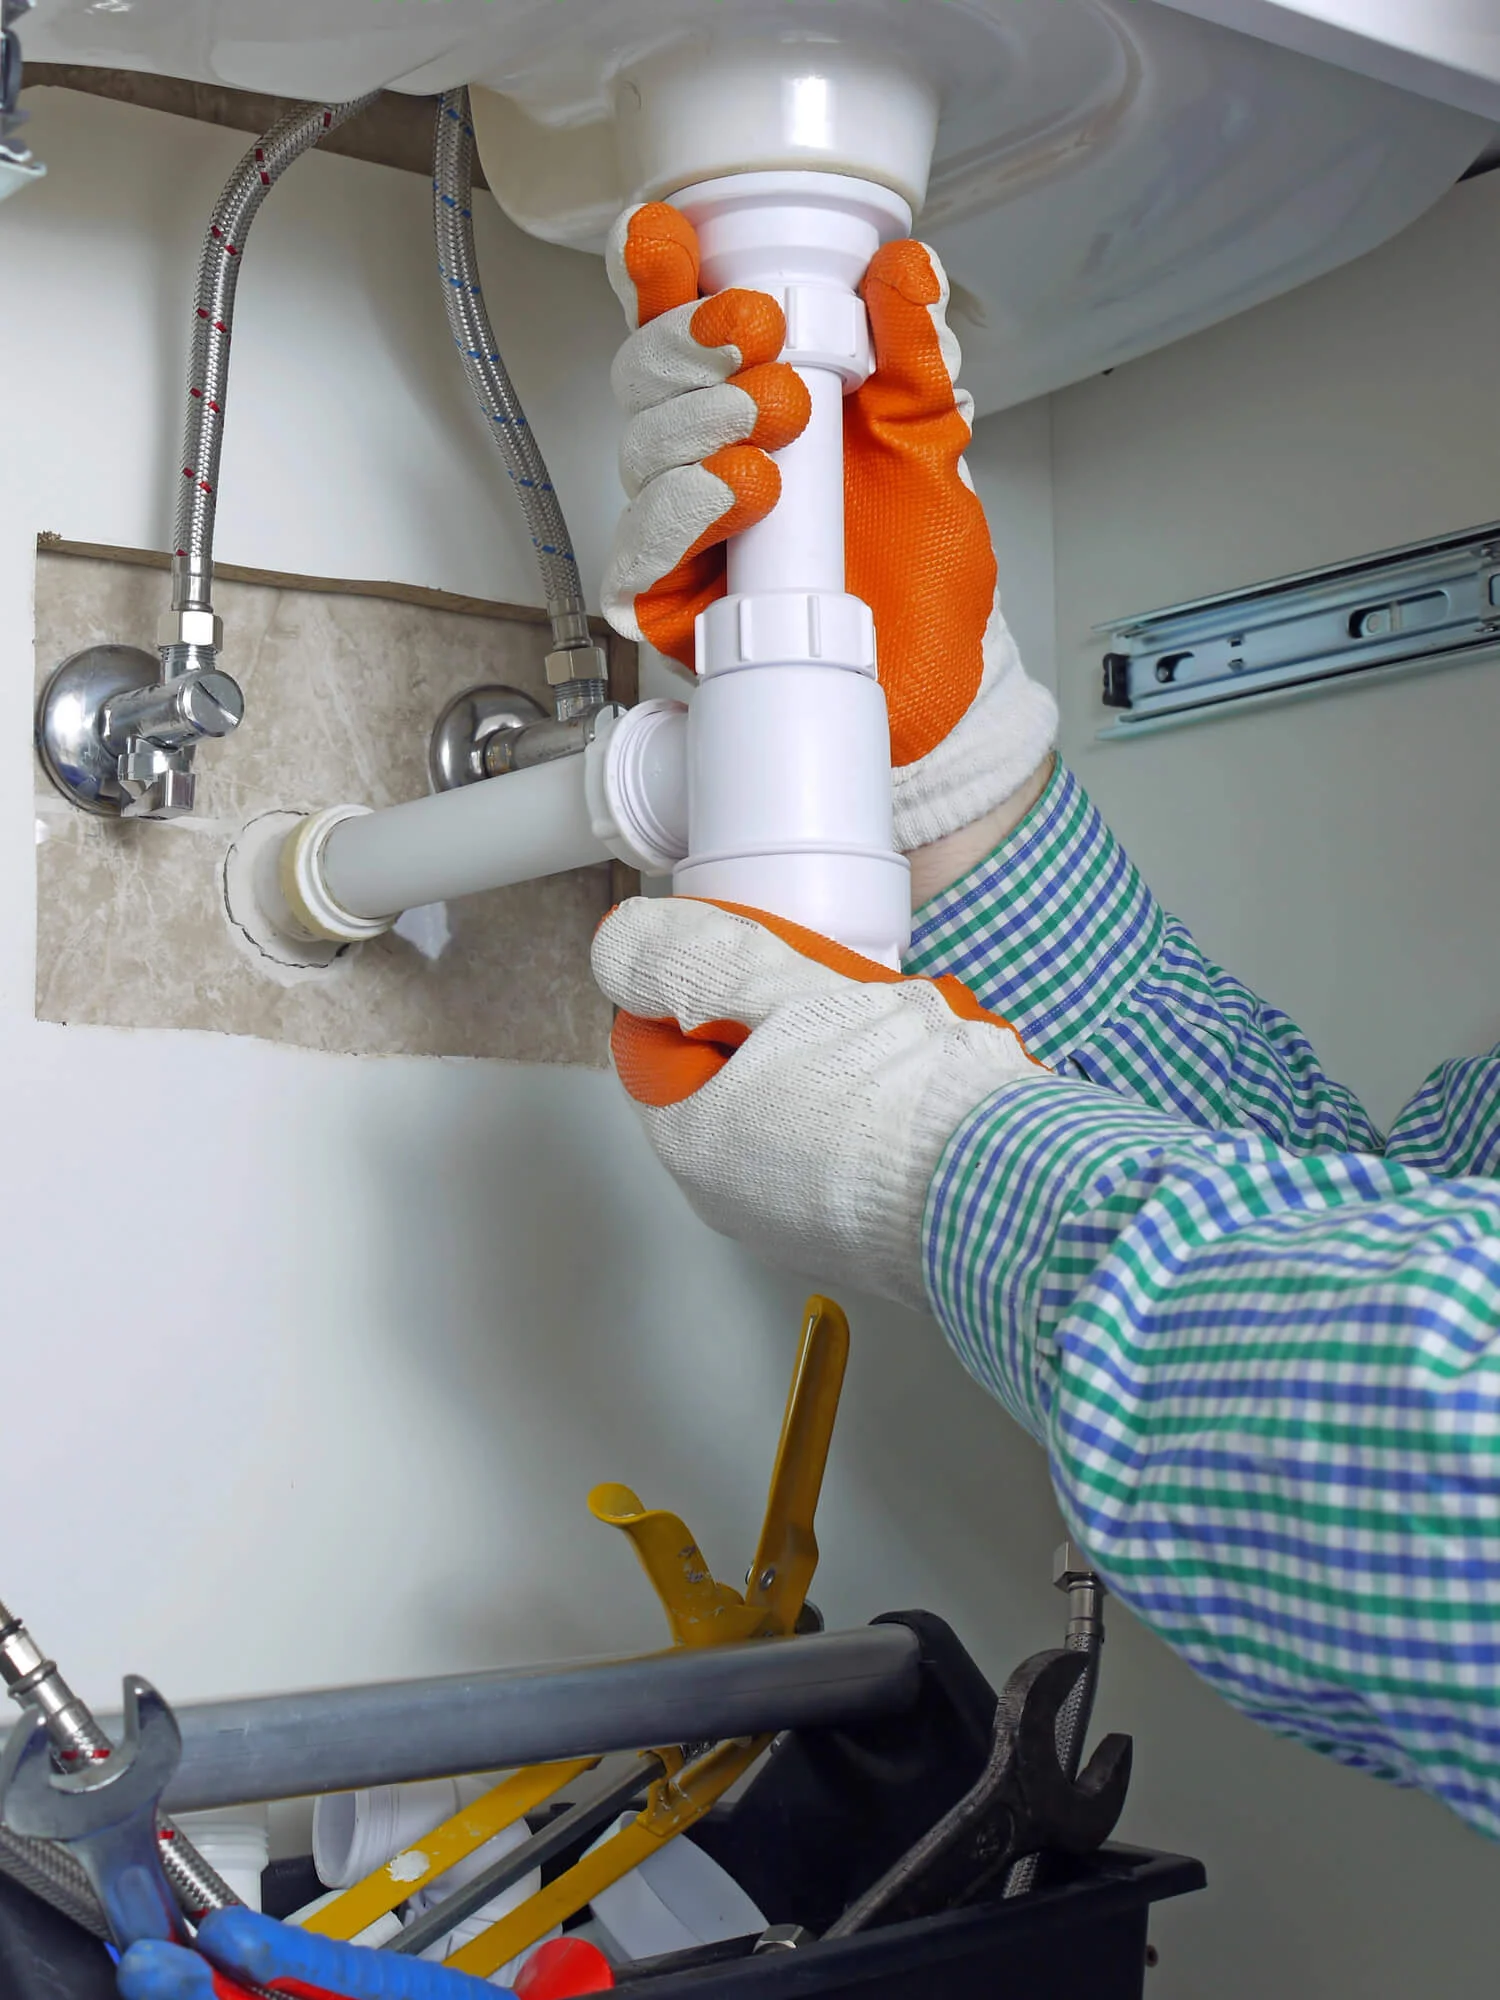
How Do I Know When to Call a Plumber for a Leak?
March 16, 2026
Not sure when a leak needs help? Learn signs to call a plumber in Carlsbad, CA. Protect your home before damage spreads.
Read more...
What Causes Low Water Pressure in Your Home?
February 28, 2026
Low water pressure can signal plumbing problems. Learn the causes and when to call a plumber in Escondido for professional help.
Read more...
What Are the Warning Signs Your Drains Need Professional Cleaning?
January 31, 2026
Slow drains or bad odors? Learn the warning signs that you need professional drain cleaning in Vista before clogs turn into major plumbing issues.
Read more...
Five Early Signs Your Home May Have a Hidden Leak
November 5, 2025
Learn the first signs of a hidden leak. Get simple steps to protect your property with help from a plumber in Vista, CA.
Read more...
Emergency Plumbing Procedures
July 3, 2025
Quick emergency plumbing tips: locate shutoff valves, stop leaks fast, handle hot water heaters safely, fix stuck faucets, and unclog sinks.
Read more...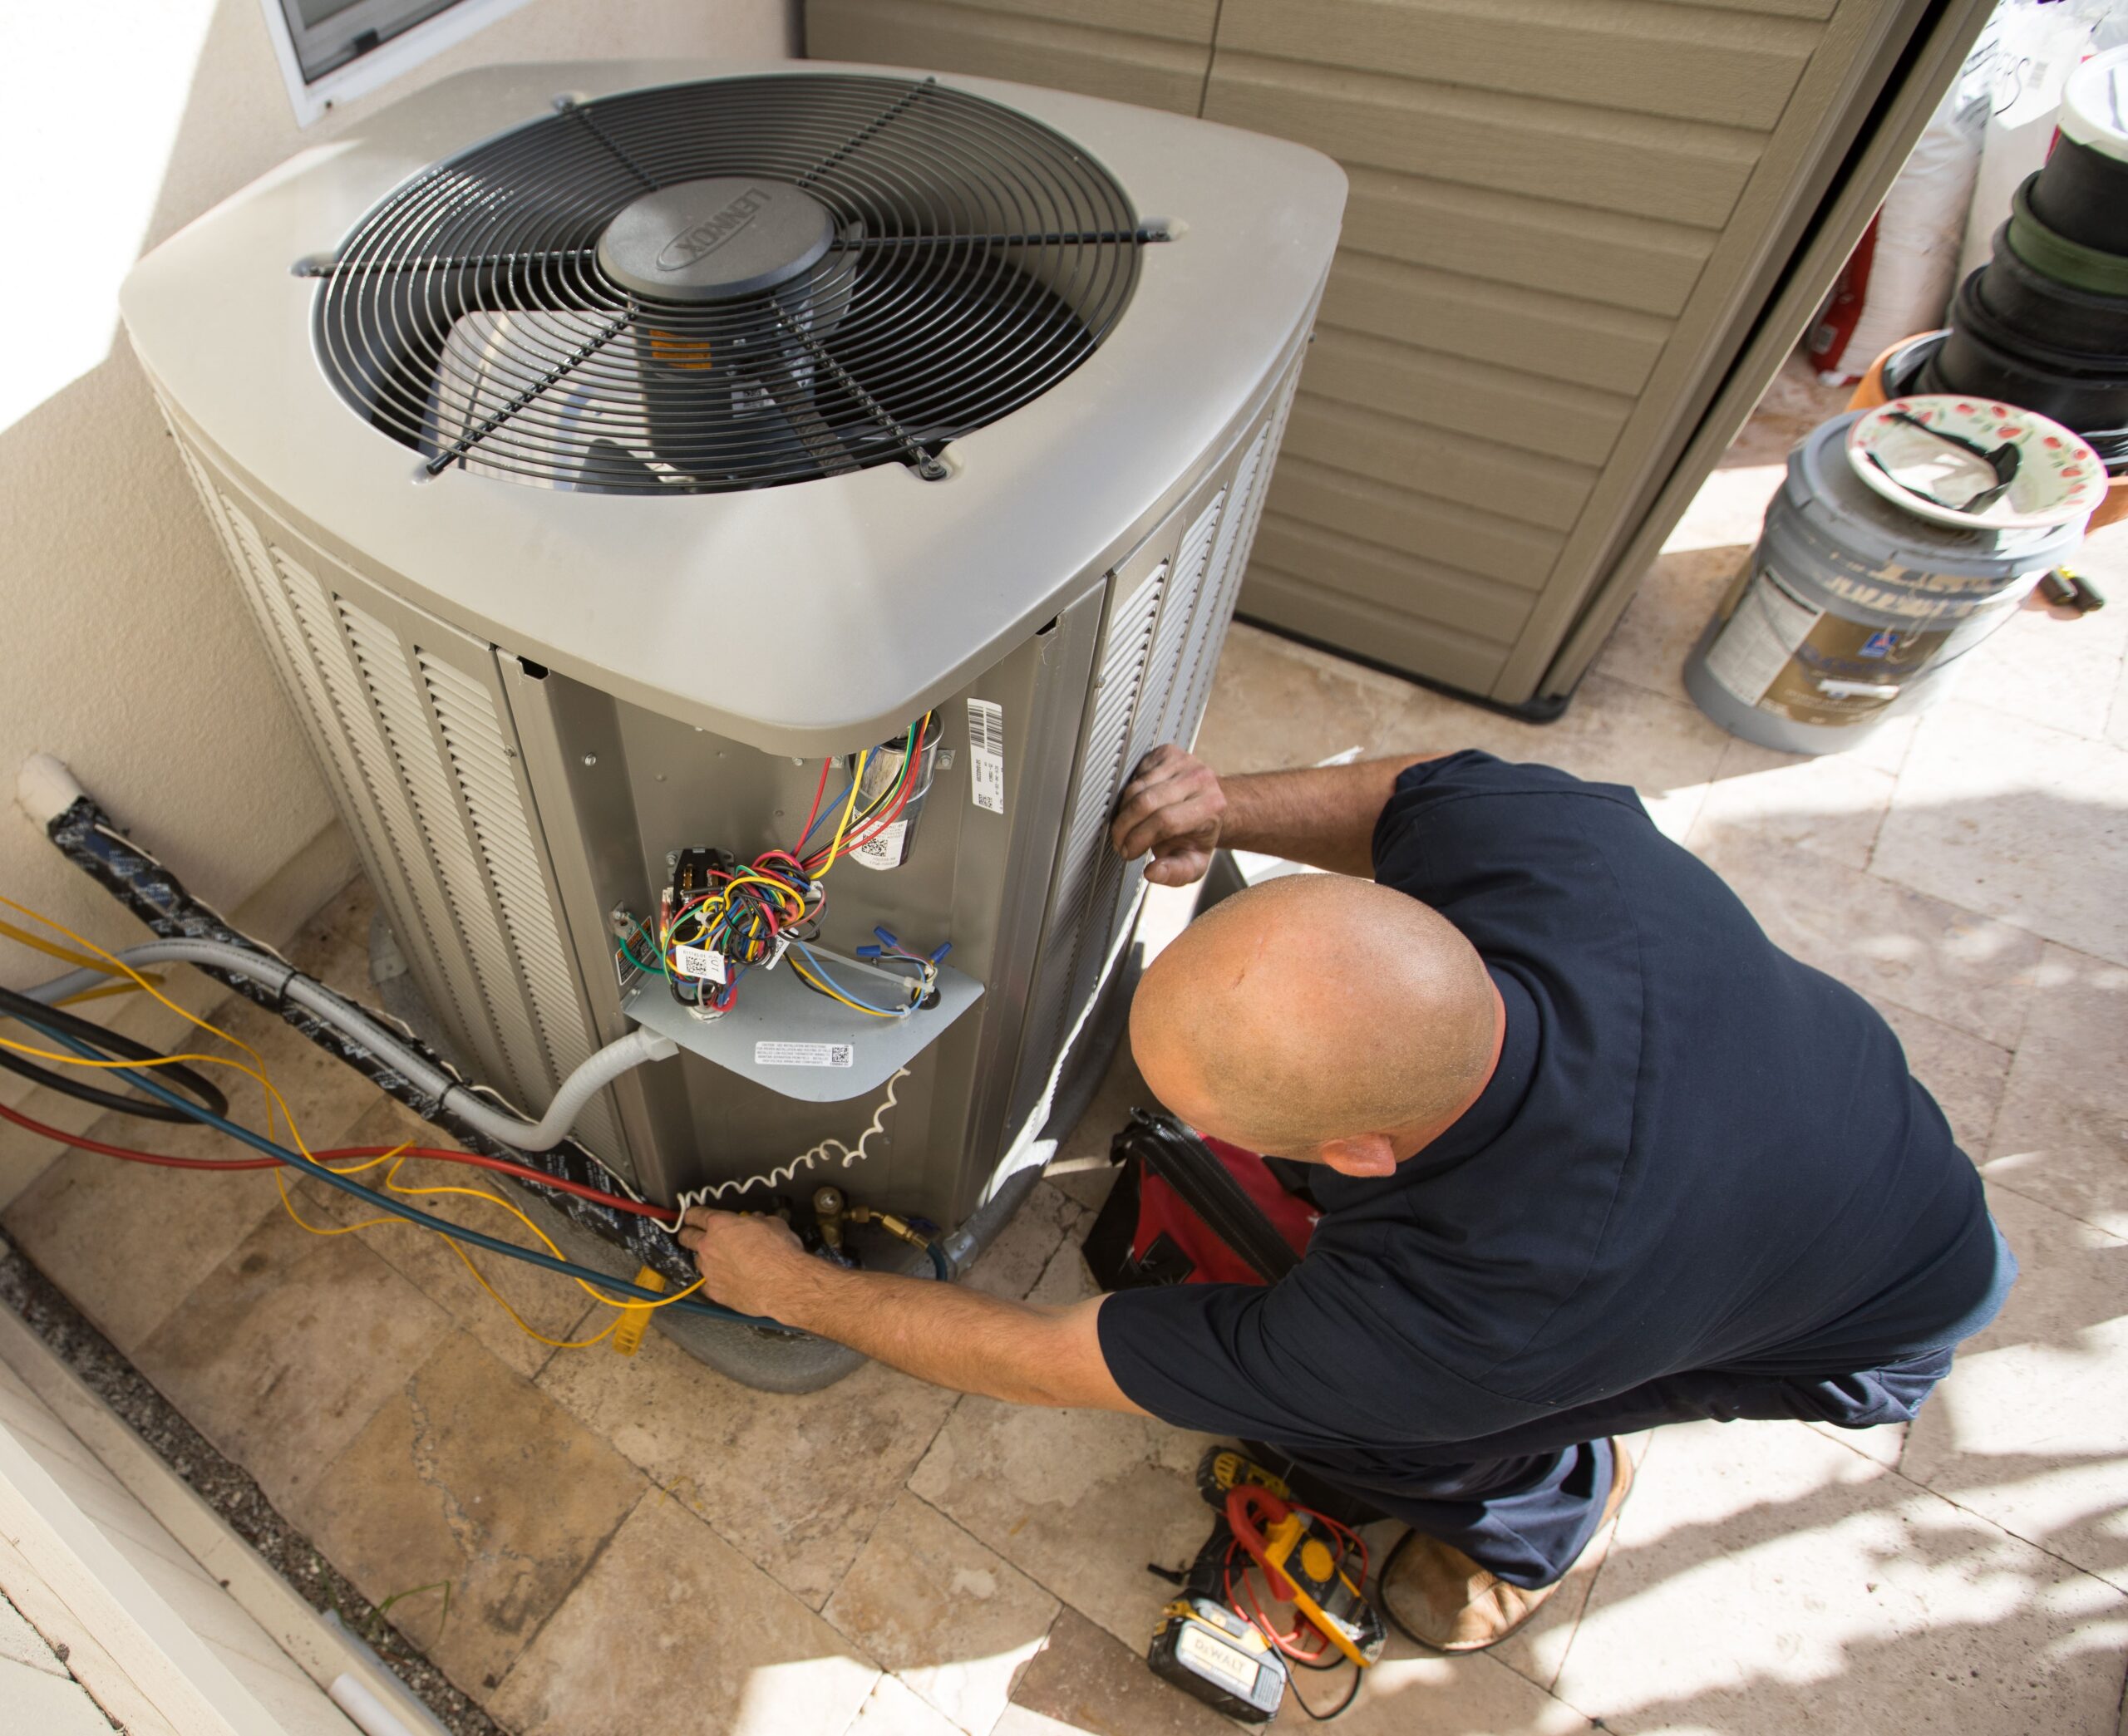
Air Conditioning Tips & Tricks You Must Know!
July 3, 2025
Save on AC costs with smart thermostat settings, clean coils and filters, proper refrigerant levels, good airflow, and energy-efficient cooling habits.
Read more...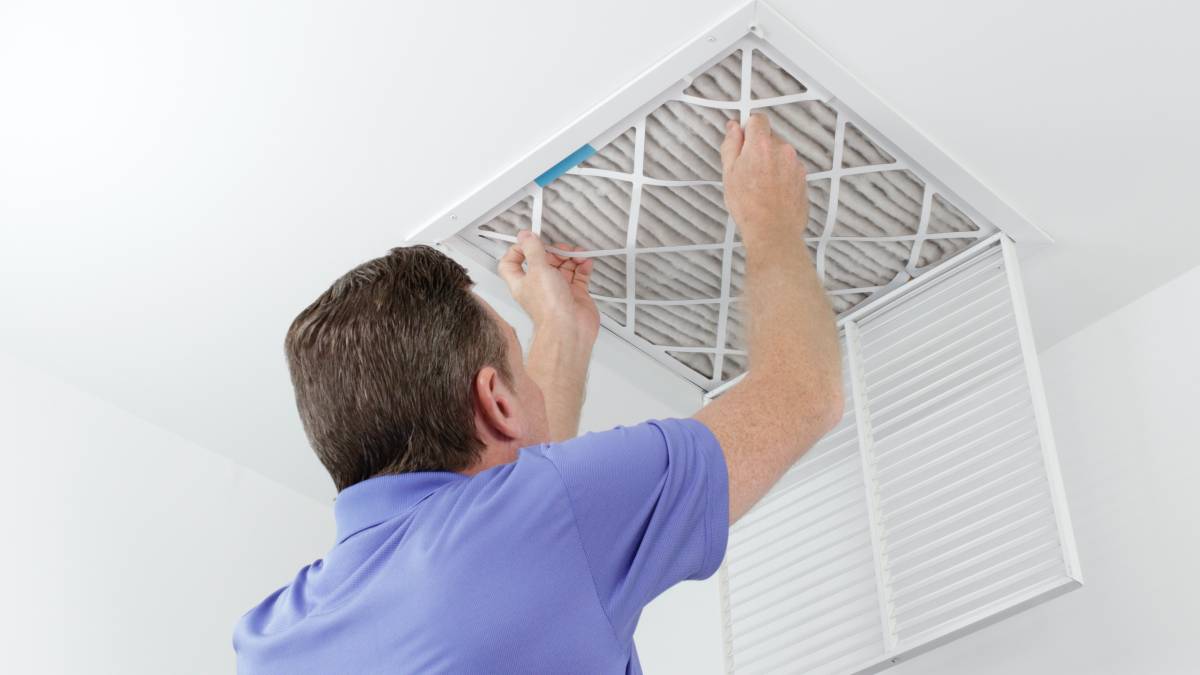
Make Your Duct System More Efficient
October 25, 2023
Improve heating efficiency by inspecting, sealing, and insulating ductwork, plenums, and vents to prevent heat loss and reduce energy bills.
Read more...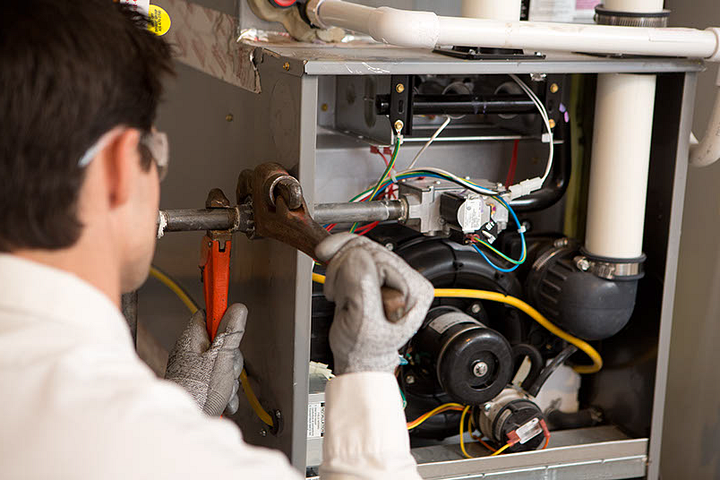
Furnace Cleaning, Maintenance & Tune-ups
October 20, 2023
Prepare for winter with furnace cleaning and tune-ups to improve efficiency, safety, and reliability while lowering energy costs and preventing breakdowns.
Read more...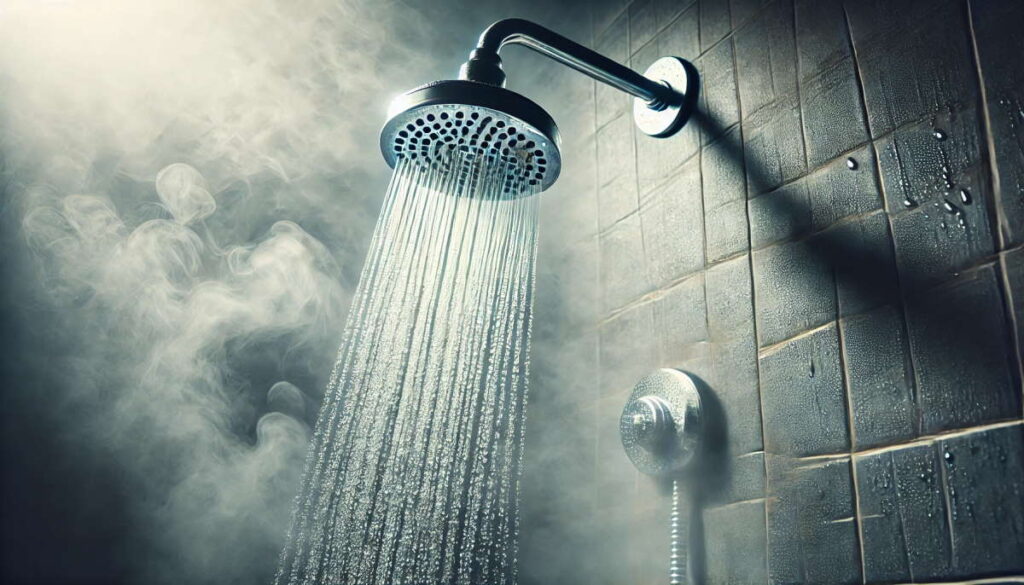
Hot Water – How Hot Is Too Hot?
October 30, 2023
Hot water set too high can cause serious burns, especially for kids and seniors. Keep heaters near 120°F and maintain controls to prevent scalding.
Read more...
Home Air Purifiers – Healthy Home Solution
November 1, 2023
Home air purifiers reduce dust, pollen, odors, and allergens. HEPA filters are most effective, especially when paired with proper ventilation.
Read more...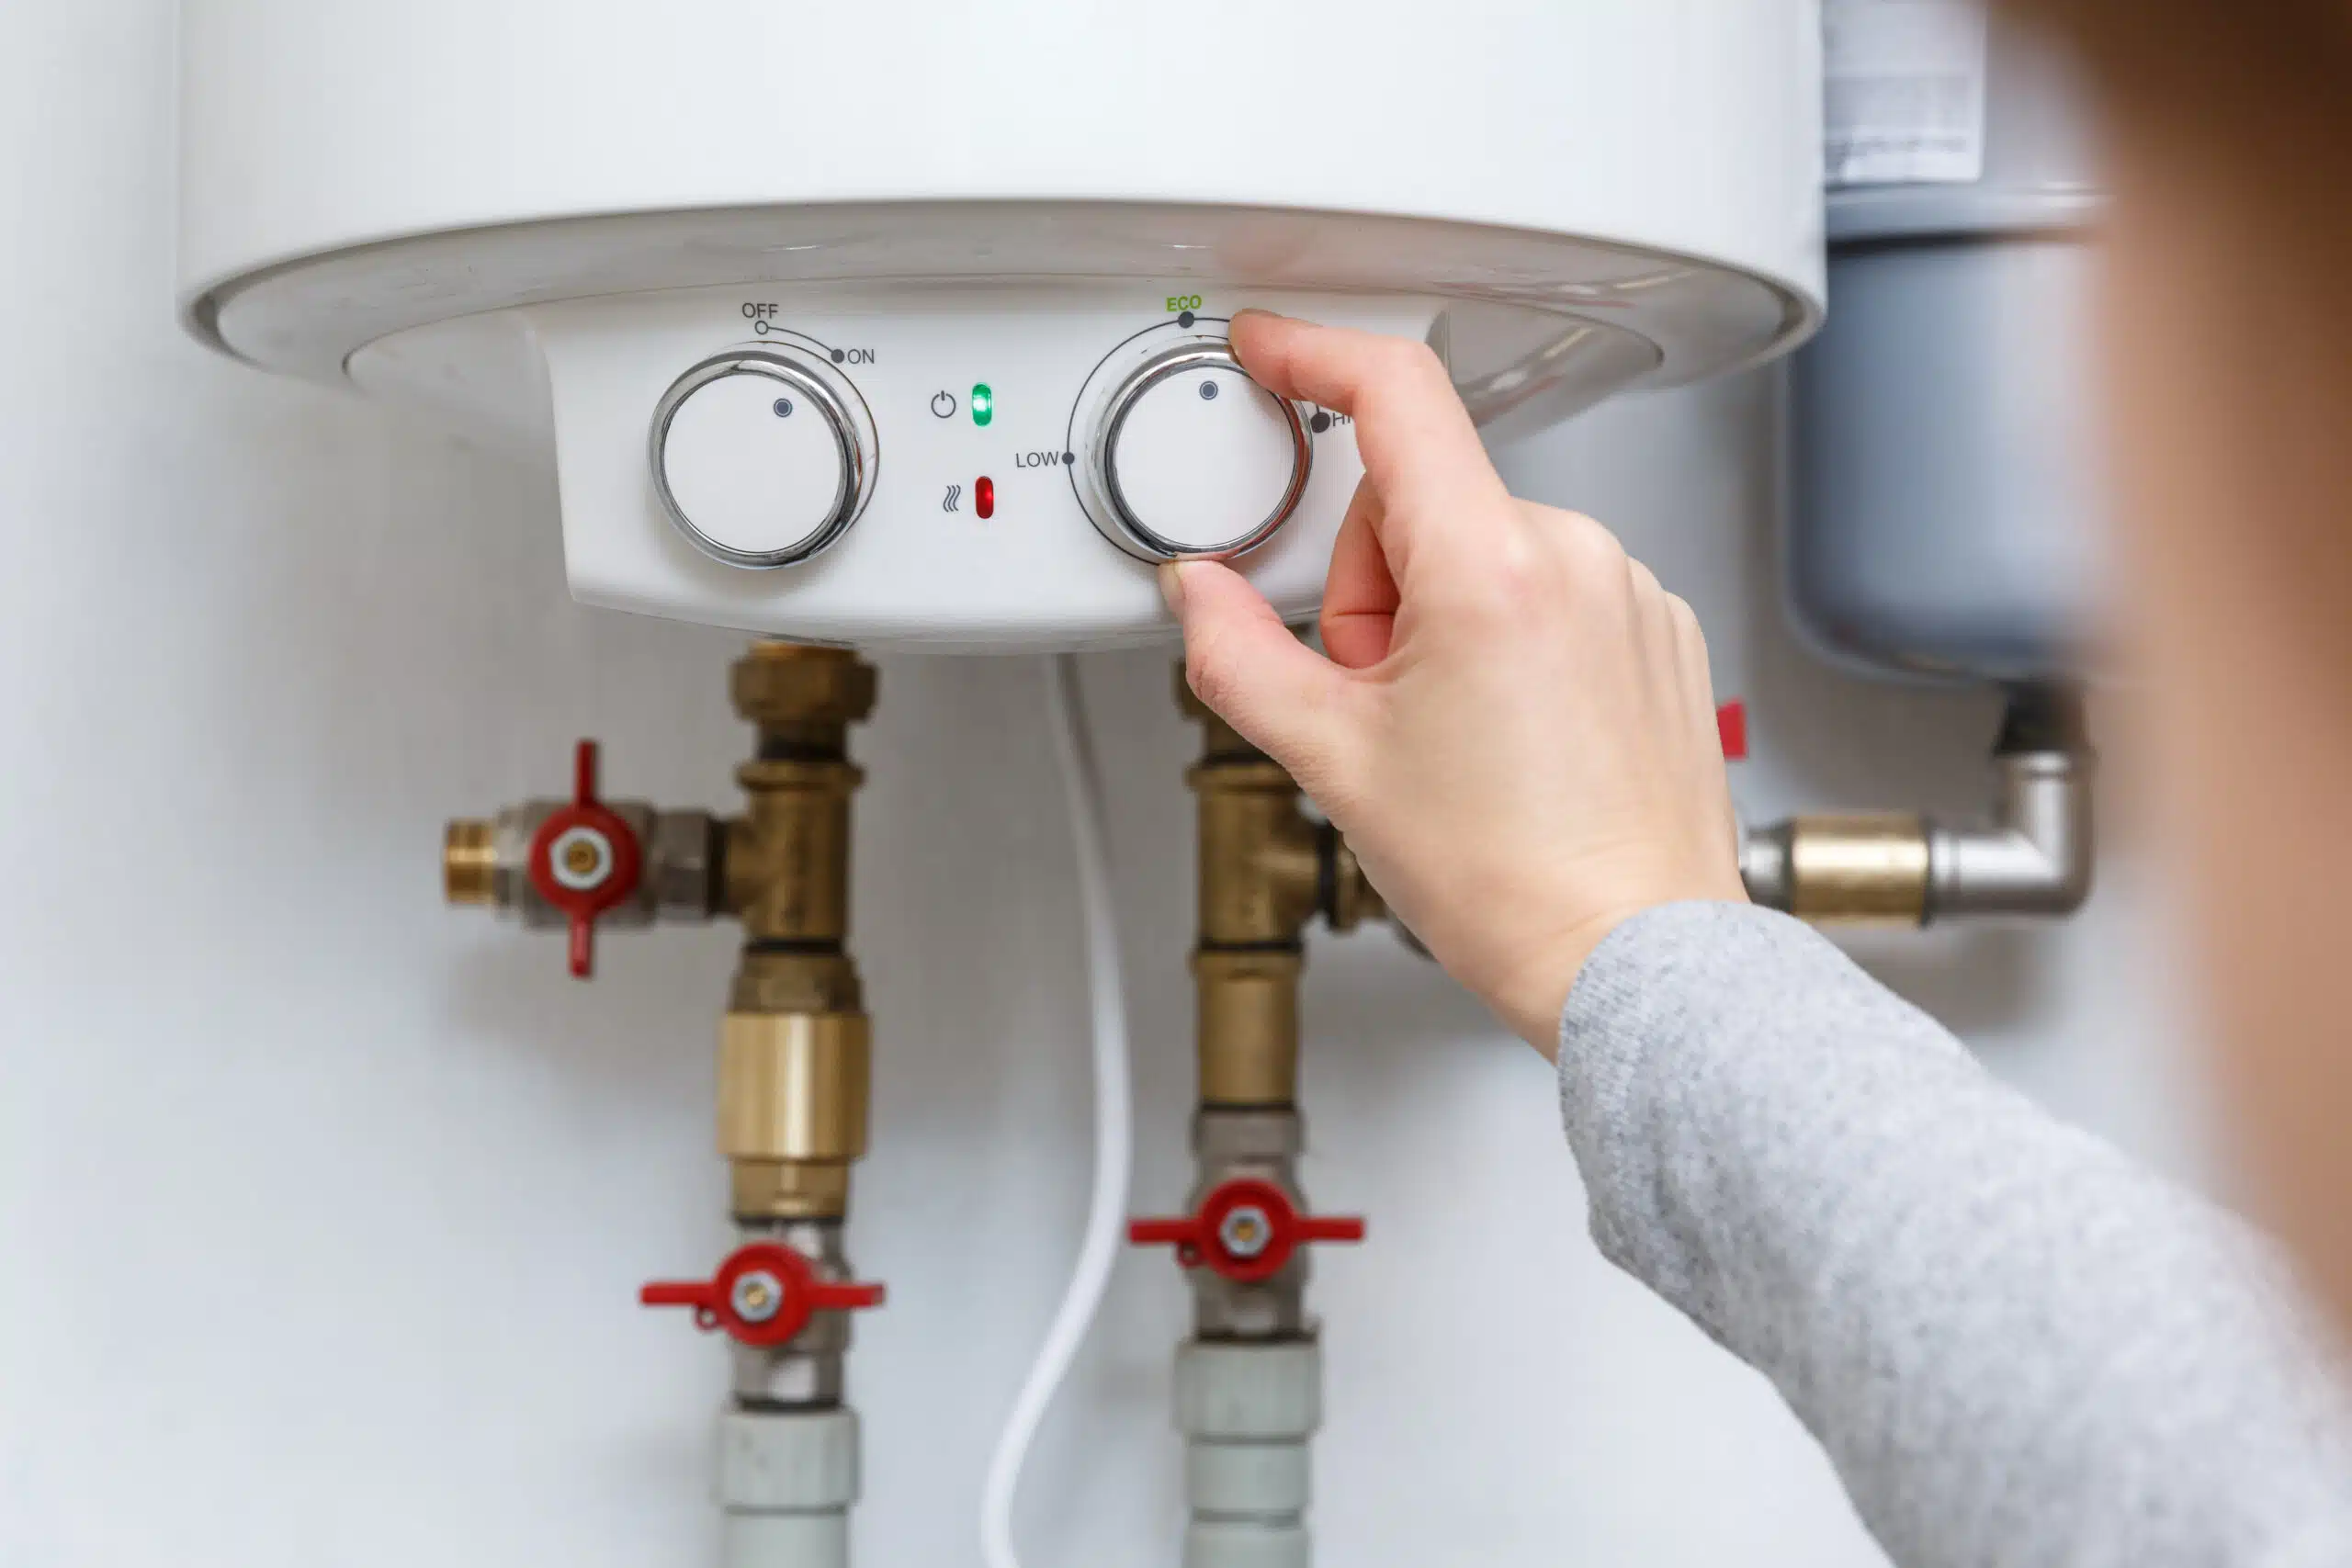
Gas Water Heaters – How to Choose?
October 15, 2023
Gas water heaters heat faster and cost less than electric models. Choosing the right tank size ensures enough hot water for your household’s needs.
Read more...
Home Energy – Efficiency & Audits
October 10, 2023
Home energy audits help identify air leaks, insulation issues, and inefficient systems, lowering energy costs and improving comfort year-round.
Read more...
36 Ways to Lower Your Heating Cost this Winter
October 5, 2023
Lower heating costs with smart habits like insulation, sealing drafts, thermostat control, system tune-ups, and simple lifestyle changes all winter long.
Read more...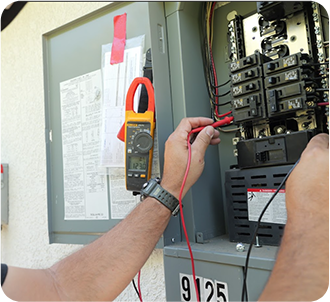
Energy Saving Tips
October 1, 2023
Save energy and money by adjusting thermostats, reducing hot water use, unplugging electronics, upgrading appliances, and sealing air leaks.
Read more...